You’re a busy programmer? All the day looking at default color scheme of vim editor and getting bored?
With the new day comes new strength and new thoughts. - Eleanor Roosevelt
You can install new color schemes for vim editor as you want and then you can switch between them. It can be done with in few seconds ☺.
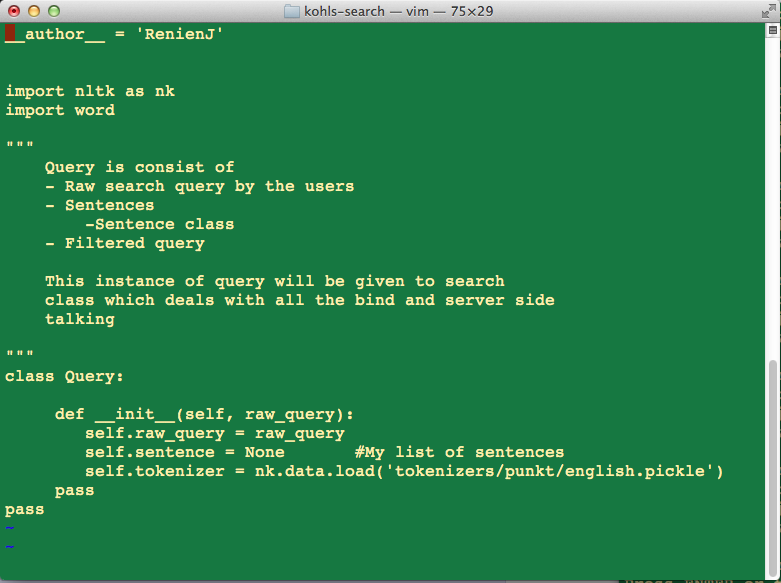
Figure 1 shows default color scheme and without syntax highlight in the terminal.
Turn on the syntax highlight
Edit the file “~/.vimrc”. Create the file if not exists “touch ~/.vimrc”. Then in side the file type “syntax on”.
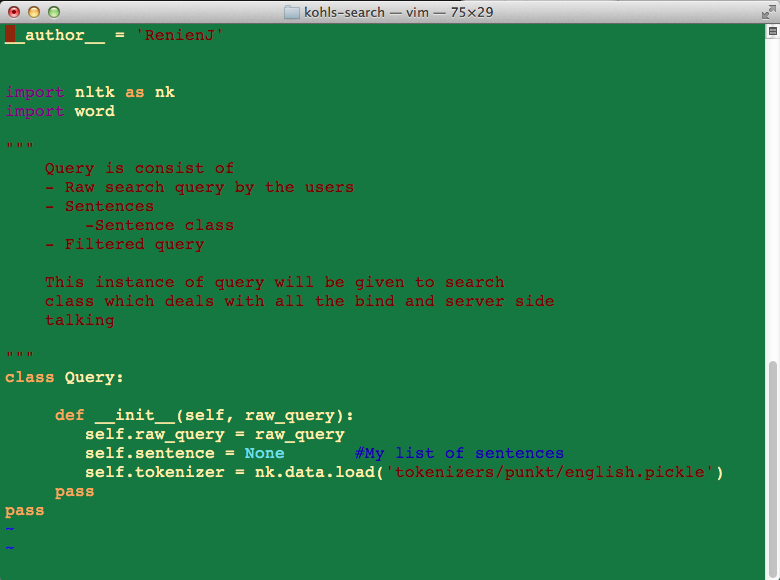
Figure 2 shows default syntax highlight in the terminal.
Installing new Color Scheme for Vim
Lets try to install a new Vim color scheme – “distinguished”. Download the color scheme from git repository.
Navigate to “~/.vim/colors/” in the root directory. Create “colors” folder if not exists. Now move the “distinguished.vim” file inside “~/.vim/colors/” directory.
Now again edit the file “~/.vimrc” and add the following lines.
syntax on
colorscheme distinguished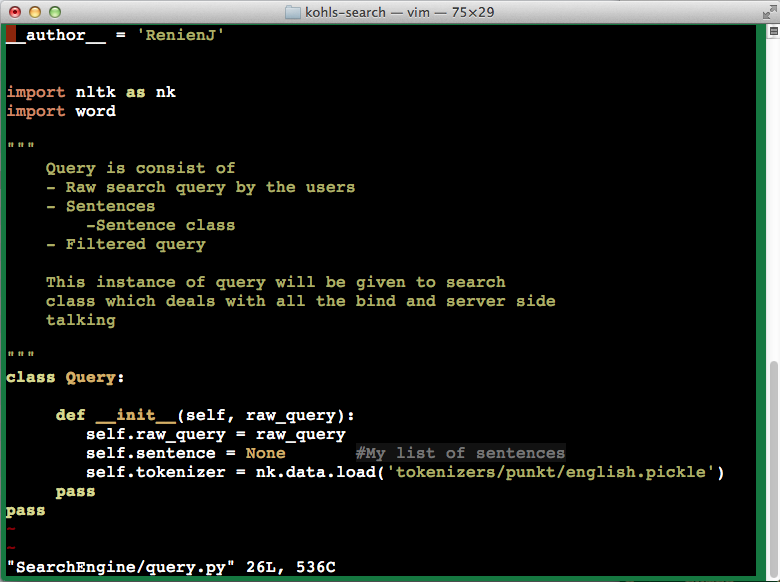
That’s it, when you open the Vim editor next time it will apply the new color scheme (Figure 3).
To switch between different color scheme in Vim editor(Figure 4), switch to command mode (by pressing “esc” key, and type :colorscheme default/new_color_scheme(distinguished)
